How to Edit Drone Footage: The Complete Guide
A poorly edited drone video can ruin technically flawless footage. You spend hours planning the flight, find the perfect angles, shoot in 4K - and when it comes time to cut, the result looks amateurish. The problem is rarely the camera. It's the post-production.
The good news is that editing aerial footage has never been more accessible. Professional tools like DaVinci Resolve are free, and advanced tutorials are one click away. But the volume of information also creates confusion: which software to use? What is D-Log? Do you need LUTs? H.264 or H.265?
This guide covers the complete workflow - from organizing your files to the final export - with a practical focus on those who shoot with DJI drones and want consistent results, whether for YouTube or Instagram.
Why Editing Makes the Difference in Aerial Video
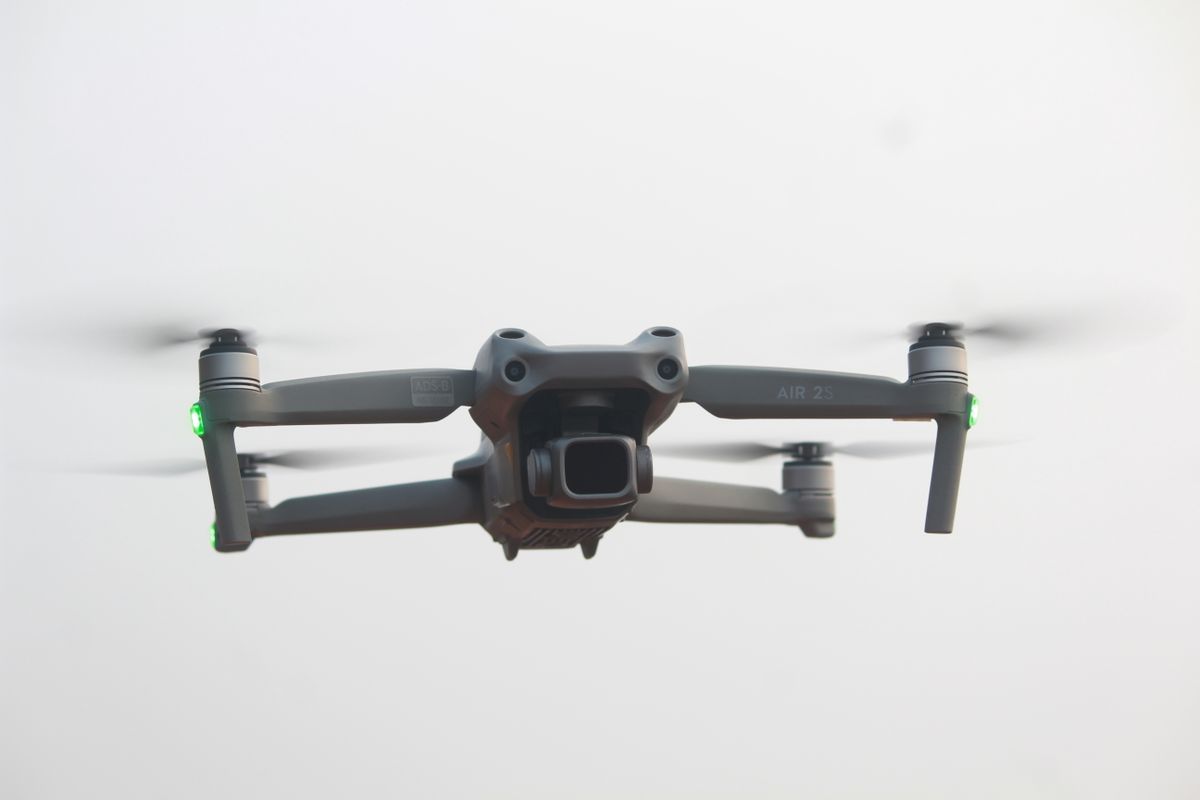
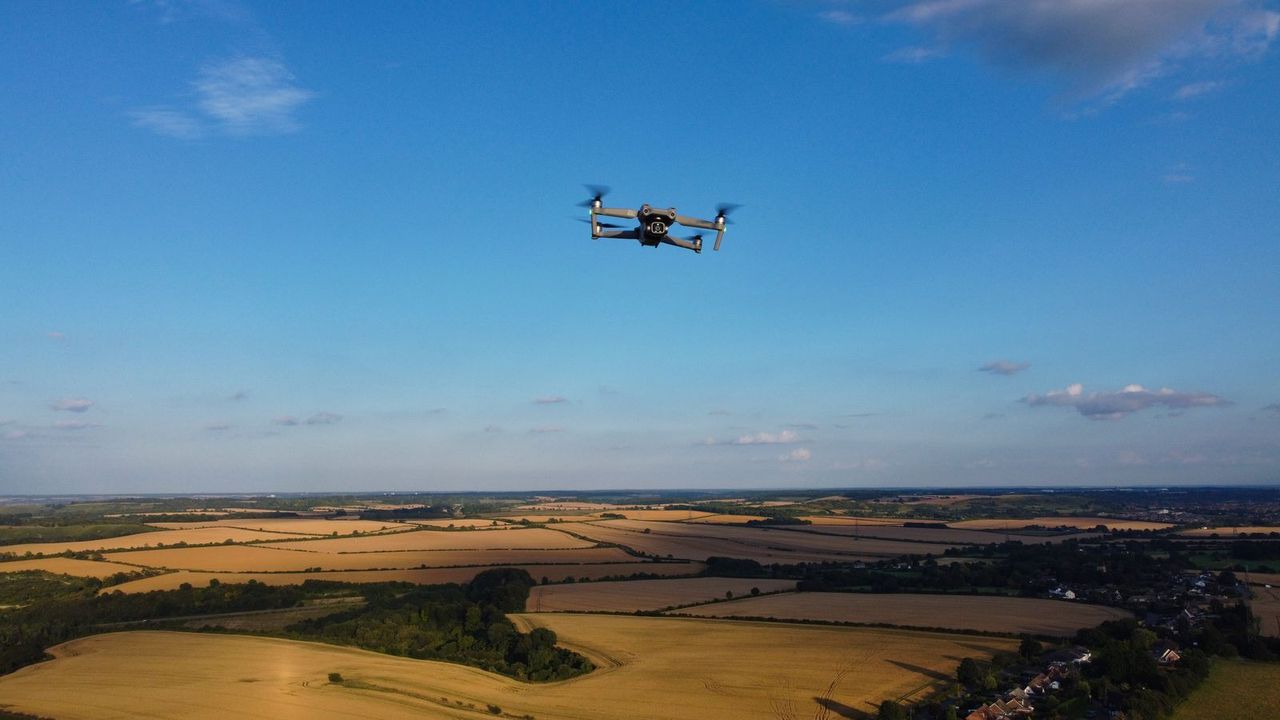
Aerial video has characteristics that make editing more demanding than conventional ground-level footage. Movements are wide and continuous, scenes have few fixed reference points, and any poorly timed cut immediately draws attention. On top of that, drone cameras - even on models like the DJI Mini 4 Pro - tend to shoot in flat color profiles (D-Log, D-Cinelike) that intentionally produce washed-out images to preserve editing latitude.
Without proper color treatment, these images look bleached and lifeless. With solid color grading, the same clip can take on cinematic depth.
Editing also defines the pacing. A drone reveal without cuts lands its impact in 30 seconds - and wears out over 3 minutes. The cut transforms isolated clips into a narrative.
Finally, there are technical issues: noise in low light, a slightly tilted horizon, lens distortion - these problems are fixed in editing, not in the air.
Best Software for Editing Drone Video
Your software choice depends on your experience level, budget, and the type of content you produce. Here are the main options:
| Software | Price | Platform | Level | Best for |
|---|---|---|---|---|
| DaVinci Resolve | Free (Studio: $295 one-time) | Windows, Mac, Linux | Intermediate / Pro | Color grading, serious projects |
| Adobe Premiere Pro | ~$55/month | Windows, Mac | Intermediate / Pro | Adobe ecosystem, corporate clients |
| Final Cut Pro | $299 (one-time purchase) | Mac only | Intermediate / Pro | Apple users, fast editing |
| CapCut | Free (paid plans available) | Windows, Mac, iOS, Android | Beginner | Social media content, Reels |
| iMovie | Free | Mac, iOS | Beginner | First projects on Mac |
| Vegas Pro | From $249 | Windows | Intermediate | Windows users preferring Premiere alternative |
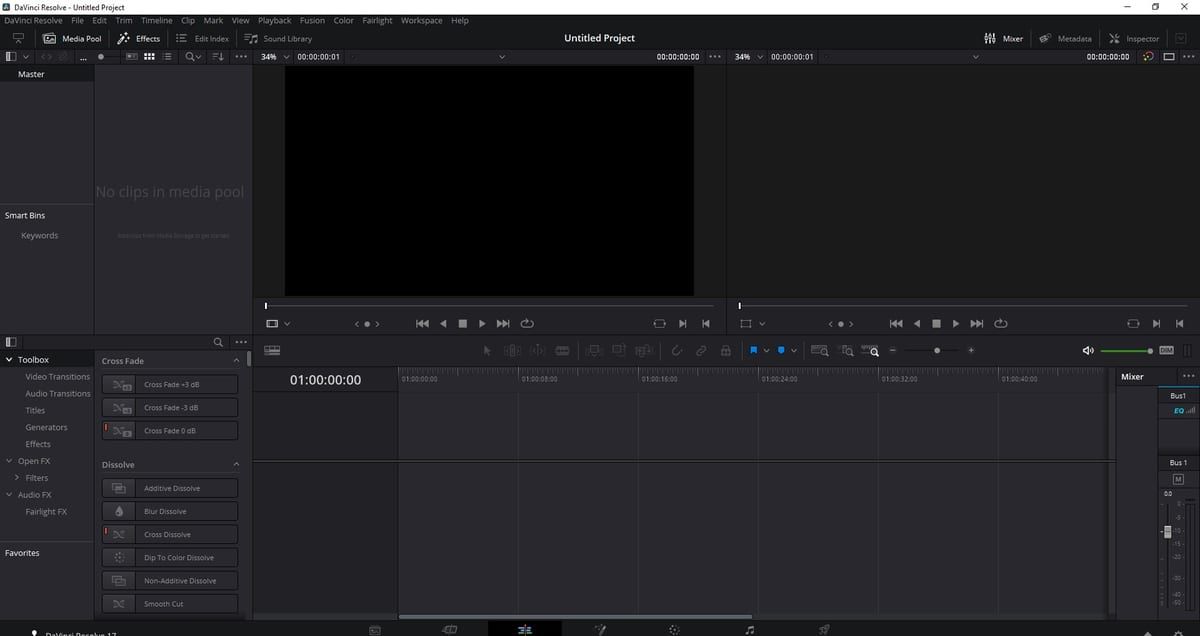
DaVinci Resolve is the primary recommendation. The free version offers professional color grading, multicam editing, lens correction, and export in any format - no watermark and no time limit. Blackmagic Design built the software for cinematic post-production, and it shows.
Adobe Premiere Pro is the most widely used software in professional agencies. Its integration with After Effects is a significant advantage for those who need motion graphics. The monthly cost, however, weighs on independent creators.
CapCut is the fastest option for Instagram and TikTok. Its automatic beat-synced cut templates work well for Reels. It doesn't replace Resolve for complex projects, but it's unbeatable for speed on social media content.
Organizing Your Project: Formats, Resolution, and Frame Rate
Never edit directly from the SD card. Performance suffers and the risk of file corruption is real. The correct workflow:
- Copy files from the card to your internal hard drive or SSD
- Organize by date or project:
2026-04-03_beach-sunset/ - Subfolders:
raw/,exports/,assets/ - Import into your software only after organizing
Formats: MP4 vs. MOV
Most DJI drones record in MP4 (H.264 or H.265). MOV is more common in Sony and Apple cameras. For editing, both work - what matters is the codec. H.265 (HEVC) generates smaller files at the same quality, but demands more from your processor. If playback stutters, use proxies: low-resolution copies for editing, replaced with originals at export.
Resolution: 4K vs. 1080p
Shooting in 4K gives you room to reframe without losing quality in a 1080p final product. The caveat is storage: 10 minutes of 4K H.265 takes between 3 GB and 6 GB.
Frame Rates
- 24 fps: cinematic standard, "film look." Ideal for travel and documentaries.
- 30 fps: TV and YouTube standard. Smoother motion, ideal for informational content.
- 60 fps or higher: for slow motion. Shot at 60fps and played back at 24fps, the clip plays at 40% speed. At 120fps, 5x slower - with no artificial interpolation.
Color Grading for Drone Footage
Color grading is the process of treating the color and contrast of images to create a consistent aesthetic. In aerial video with DJI drones, this starts before editing: in the choice of color profile during recording.
D-Log and D-Cinelike: Why Shoot "Flat"?
D-Log (available on models like the DJI Mini 4 Pro and DJI Avata 2) is a logarithmic color profile. It compresses the dynamic range of the image - sky, shadows, and midtones - into a washed-out-looking file that preserves much more information. In editing, you "expand" that information to create an image with detailed highlights and open shadows.
D-Cinelike is a less extreme version, available on entry-level models. It also delivers flat images, with simpler processing. In both cases, publishing without color grading results in lifeless footage - the treatment is mandatory.
What Are LUTs
A LUT (Look-Up Table) is a file that automatically transforms the colors and tones in an image. There are two main types:
- Technical LUT (conversion LUT): converts D-Log to a standard color space like Rec.709. It doesn't define the final "look" - it just makes the image appear normal so you can continue editing.
- Creative LUT: applies a visual style - warm tones, cold cinematic look, Fuji film simulation, etc.
To apply LUTs in DaVinci Resolve: go to Color → LUTs → drag the .cube file to the desired node. For each camera, apply the technical LUT first (e.g., D-Log to Rec.709) and then optionally a creative LUT on top.
Free vs. Paid LUTs
DJI provides official LUTs compatible with each of their color profiles. Paid LUTs ($20 to $80) typically come in packs with more styles and support. For beginners, the free ones are sufficient to learn the workflow.
Basic Workflow in DaVinci Resolve:
- Conversion LUT on the first node (D-Log → Rec.709)
- Exposure and white balance on the second node
- Contrast with curves or Lift/Gamma/Gain
- Optional creative LUT on the third node at 60–80% opacity
Cutting and Editing Tips for Aerial Videos
The biggest mistake in aerial videos is cutting hard in the middle of a camera movement. If the drone is rotating right and you cut abruptly to another clip, the viewer feels the jump. The rule: cut at the beginning of a movement (before it starts) or at the end (after it finishes). Never in the middle.
Transition Techniques
- J-cut: the audio from the next clip begins before the image appears. Creates a smooth, "breathing" entry, widely used in documentaries.
- L-cut: the opposite - the image changes, but the previous clip's audio continues for a few frames. Useful for narration.
- Match cut: transition through similarity of shape, color, or movement between two clips. Works especially well in aerial video - for example, cutting from a circle the drone has orbited to a circular road seen from above.
Rhythm and Music
Music defines the cutting rhythm. Choose the track before you start editing. Mark the main beats (snare, drops) and sync cuts to them. CapCut does this automatically with its beat-sync function; in DaVinci Resolve and Premiere, you do it manually in the timeline - with more control.
Clip Duration
In aerial video, less is more. A drone reveal (camera rising and revealing a landscape) lands its impact in the first 4 seconds. Letting the clip run for 12 seconds dilutes the effect. The practical rule: cut the clip while it's still good, not when it starts to wear out.
For YouTube videos between 3 and 8 minutes, work with clips averaging 3 to 6 seconds. For 30 to 60-second Reels, between 1.5 and 3 seconds.
Avoid Black Bars
When mixing different aspect ratios (16:9 and 9:16), software fills the gaps with black. Set a single project resolution before starting and adjust each clip individually.
How to Export for YouTube, Instagram, and Social Media
Incorrect export settings can degrade a high-quality video into something that looks like it was filmed in SD. Each platform has its specifications, and understanding them prevents unnecessary recompression.
H.264 vs. H.265
- H.264 (AVC): compatible with virtually everything - TVs, older smartphones, all browsers. Generates larger files but processes faster during editing.
- H.265 (HEVC): same quality with files up to 50% smaller. Ideal for 4K. Requires more recent hardware to decode, but YouTube and Instagram support it without issue.
For the final export, H.265 is the rational choice if you're publishing in 4K. For 1080p and broad compatibility, H.264 is still the safer option.
YouTube - Recommended Settings:
- Codec: H.264 or H.265
- Resolution: 3840×2160 (4K) or 1920×1080 (1080p)
- Frame rate: same as the project (24, 30, or 60 fps)
- Bitrate: 40–68 Mbps for 4K; 8–12 Mbps for 1080p
- Audio: AAC, 320 kbps, stereo
- Container: MP4
YouTube recompresses everything, but the higher the bitrate you upload, the better the final result. The YouTube official guide lists all specifications.
Instagram Reels:
- Resolution: 1080×1920 (9:16 vertical) or 1080×1080 (square)
- Frame rate: 30 fps
- Codec: H.264
- Maximum duration: 90 seconds
- Recommended bitrate: 3.5–5 Mbps
- Avoid H.265 - Instagram still has issues with HEVC on some devices
To adapt 16:9 video for Reels, reframe with zoom and repositioning - don't add letterbox bars. Aerial clips generally have enough headroom for cropping.
File Size Reference
A 5-minute video in 4K H.265 runs between 600 MB and 1.2 GB. A 60-second Reel in 1080p H.264, between 80 MB and 150 MB. Instagram compresses more aggressively than YouTube - losing a bit of sharpness after upload is normal. Exporting at a bitrate above the platform's recommendation doesn't improve the final result once it's been reprocessed.
FAQ
Sources: Blackmagic Design - DaVinci Resolve | Adobe Premiere Pro | DJI - D-Log and Official LUTs | Google - YouTube Upload Specifications
More like this
Related Articles
Best Drones for Remote Workers & Office Creators (2026)
Best drones for remote workers in 2026: compact, sub-249g picks for content creators and digital nomads who film from home, the of…
UK CAA Drone Rules 2026: IDs, Fees, and Fines Explained
UK drone rules changed on January 1, 2026: registration now kicks in at 100g, not 250g. Full Flyer ID, Operator ID, A2 CofC, and f…
EASA Drone Categories: Open, Specific, Certified (2026)
EASA splits every EU drone flight into Open, Specific, or Certified. Here's which category you're in, which C-class you need, and…